Original Industrial Spare Part
Generic MFP6610 Service-Ready Spare Part for Industrial Maintenance
Verify the part, confirm the platform family, and move straight into quotation with the right commercial details.
RFQ Ready
- SKUMFP6610
- CategoryPLC & Industrial Automation Modules
- BrandGeneric
- SupportAvailability, lead time, condition, and shipping coordination
How Buyers Usually Use This Page
- Confirm the exact part number and platform family before sending the quote request.
- Use direct email when quantity, condition, and destination are already defined internally.
- Switch to the broader brand or category archive when you need alternates nearby.
Series Navigation
Move through the most common platform families behind this part.
Product RFQ
Send this part directly for quotation.
Include quantity, required condition, destination country, and target delivery timing. Current reference: Generic MFP6610 Service-Ready Spare Part for Industrial Maintenance with SKU MFP6610.
Generic MFP6610 Service-Ready Spare Part for Industrial Maintenance
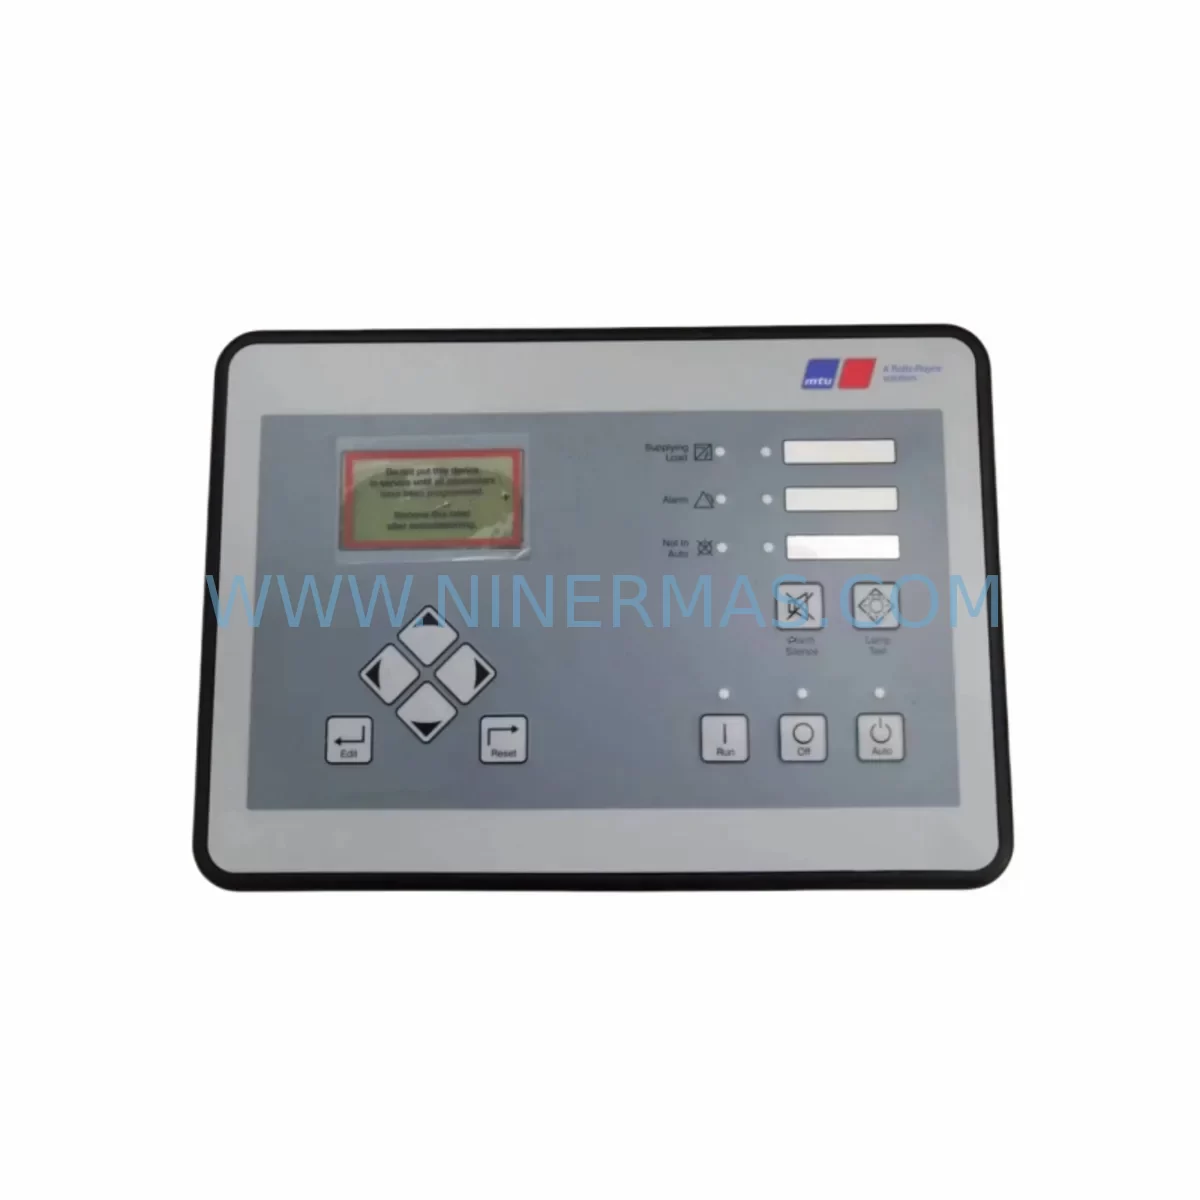
The Generic MFP6610 is a service-ready HMI touch screen panel designed as a direct replacement for MFP series industrial control systems. In production environments where operator interface continuity is critical, an unplanned HMI failure can cascade into extended line stoppages, missed production targets, and costly emergency procurement. Stocking the MFP6610 as a verified spare eliminates that risk — enabling maintenance teams to execute a controlled swap within a single shift rather than waiting days or weeks for an unqualified substitute.
This unit is supplied to original specification, pre-tested before dispatch, and backed by a 12-month warranty. Whether you are managing a single control cabinet or coordinating a multi-line facility, the MFP6610 integrates directly into existing MFP series panel cutouts without mechanical modification, preserving your wiring harness, communication bus, and operator configuration.
Maintenance engineers and spare parts procurement teams consistently identify the HMI panel as one of the highest-risk single points of failure in aging control cabinets. Unlike PLC CPUs or power supply modules that often provide diagnostic fault codes before failure, touch screen panels can degrade gradually — exhibiting dead zones, erratic cursor drift, or backlight flicker — before complete loss of operator control. Proactive replacement during scheduled downtime, rather than reactive replacement during an unplanned outage, is the recommended strategy for facilities operating on tight OEE targets.
Spare Maintenance Table
| Parameter | Specification |
|---|---|
| SKU / Part Number | MFP6610 |
| Series | MFP Series |
| Product Type | HMI Touch Screen Panel |
| Display Technology | Digital Touch Screen (resistive/capacitive, MFP series standard) |
| Compatibility | MFP series industrial control cabinets; direct form-factor replacement |
| Installation | Panel-mount; retains existing cutout dimensions and connector pinout |
| Communication Interface | Serial / RS-232 / RS-485 (series-standard; verify against cabinet wiring) |
| Operating Voltage | 24 V DC nominal (confirm with cabinet power supply specification) |
| Operating Temperature | 0 °C to +55 °C (industrial cabinet environment) |
| Protection Rating | IP65 front panel (typical MFP series standard) |
| Origin | CN |
| Pre-Shipment Testing | Yes — powered-on functional verification before dispatch |
| Warranty | 12 Months |
| Lead Time | In-stock units dispatched within 1–3 business days |
| Long-Term Supply | Available for repeat and blanket purchase orders |
Maintenance Planning for Continuous Operation
When scheduling a replacement of the MFP6610 HMI panel, a disciplined maintenance engineer will treat the intervention as an opportunity to inspect the entire operator station and associated control cabinet. The HMI panel does not operate in isolation — its reliability depends on the health of every upstream and downstream component in the electrical loop.
Begin with the 24 V DC panel power supply: verify output voltage under load and check for ripple that could cause intermittent touch registration errors. A degraded SMPS unit in the same cabinet is a common root cause of premature HMI failure and should be replaced concurrently if it shows any sign of thermal stress or output deviation. Next, inspect the communication cable and connector between the HMI and the PLC CPU — frayed shielding or loose RS-485 terminal connections introduce noise that manifests as screen freezes or communication timeout alarms.
Check the PLC CPU module (typically an MFP series rack-mounted processor) for active fault codes and verify that the HMI configuration file version matches the CPU firmware. A mismatch after panel replacement is a frequent cause of post-maintenance commissioning delays. If the cabinet includes a remote I/O expansion module, confirm that all digital input and output status indicators are reading correctly through the new HMI before returning the line to production.
Inspect terminal blocks and DIN rail wiring in the vicinity of the HMI mounting position — vibration over time can loosen ferrule connections, and a loose 24 V supply wire is a latent fault that will not be visible until the next power cycle. Where signal isolators are used between field sensors and the PLC analog input cards, verify isolation resistance and confirm that the isolator output range is within the card’s configured engineering units.
For cabinets that include relay output modules driving motor starters or solenoid valves, use the HMI replacement window to perform a forced-output test on each relay channel and confirm coil resistance is within specification. Similarly, if a communication gateway or protocol converter (such as a Modbus-to-Profibus bridge) is installed in the same cabinet, verify that the gateway’s status LED is showing normal operation and that the HMI’s network diagnostics screen confirms active polling.
Finally, review the cabinet door gasket and ventilation filter: a compromised IP seal accelerates dust ingress onto the HMI touch surface and the backlight assembly, shortening service life. Replacing the filter mat and reseating the door gasket during the same maintenance window costs minutes but extends the service interval of the new MFP6610 panel significantly.
Site Replacement Workflow
Step 1 — Isolation and lockout: Follow your site LOTO procedure. Isolate the 24 V DC supply to the HMI panel at the cabinet’s dedicated MCB or fuse holder. Confirm zero-voltage with a calibrated multimeter before touching any wiring.
Step 2 — Document existing configuration: If the outgoing panel retains an operator-accessible configuration menu, photograph or export the current screen layout, tag assignments, and communication parameters. This eliminates re-commissioning guesswork.
Step 3 — Mechanical removal: Release the panel retaining clips or mounting screws from the front face. Carefully disconnect the power connector and communication cable, labelling each if not already marked. The MFP6610 retains the same panel cutout dimensions as the original MFP series unit, so no chassis modification is required.
Step 4 — Install the MFP6610: Seat the new panel into the cutout, reconnect the power and communication cables in the correct orientation, and secure the retaining hardware to the specified torque. Verify that the front IP65 seal is fully compressed against the panel door.
Step 5 — Power-on and commissioning: Restore the 24 V DC supply. Confirm the HMI boots to the correct project screen. Perform a full touch-zone calibration if prompted. Navigate through all configured screens and verify that live PLC data values are displaying correctly.
Step 6 — Return to service: Log the replacement in your CMMS with the MFP6610 serial number, installation date, and technician ID. Update your spare parts inventory to trigger a replenishment order so the next replacement unit is on-hand before it is needed.
Spare Parts Support FAQ
Q1: Is the MFP6610 a direct drop-in replacement for the original MFP series HMI panel?
Yes. The MFP6610 is manufactured to the same form factor, connector pinout, and communication protocol as the original MFP series panel. No mechanical modification to the cabinet door or wiring harness is required. We recommend confirming the communication parameter settings (baud rate, station address) match your existing PLC project before powering on.
Q2: What pre-shipment testing is performed on each unit?
Every MFP6610 unit is powered on and subjected to a functional verification test covering display uniformity, touch registration across the full active area, and communication port continuity before dispatch. A test record is retained. Units that do not pass are not shipped. This process underpins the 12-month warranty coverage.
Q3: Can we place a blanket or standing order to maintain a minimum stock level?
Yes. We support repeat purchase orders and can discuss scheduled delivery arrangements for facilities that maintain a defined minimum spare parts inventory. Contact sale@ninermas.com with your annual consumption estimate and preferred delivery cadence.
Q4: What is covered under the 12-month warranty, and how is a claim handled?
The 12-month warranty covers manufacturing defects and component failures under normal operating conditions. It does not cover damage resulting from incorrect installation voltage, reversed polarity, or physical impact. To initiate a warranty claim, contact sale@ninermas.com with the order reference, unit serial number, and a description of the fault. Replacement or repair will be arranged promptly to minimise your downtime exposure.
| Product Series | Other series |
|---|---|
| Country of Origin | US |
Catalog Continuation
Alternative parts within PLC & Industrial Automation Modules.
Stay inside the same system family when you need substitutes, adjacent modules, or a broader shortlist for procurement review.
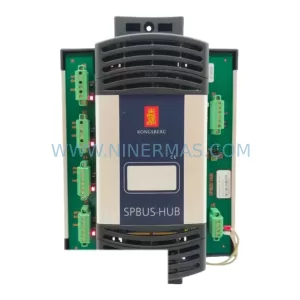
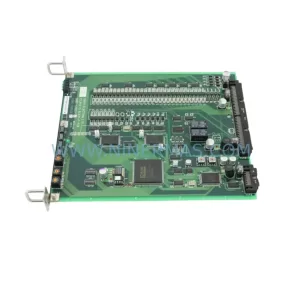
SKU: TTLM10-11 ELVIF-F 3895-120321-21 TTLD14-12 WCIF-L 3881-020032-11 TTLM11-11 W/TIF-L 3895-120322-21
TEL 3895-120321-21 Service-Ready Spare for Industrial Maintenance
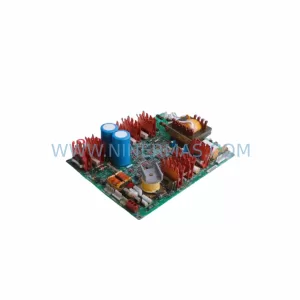
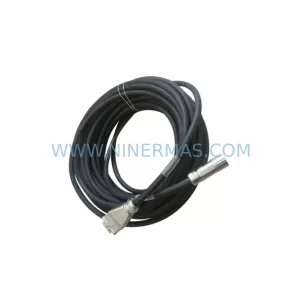
SKU: KR6 00-204-935 00-204-551
KUKA KR6 00-204-935 00-204-551 Retrofit-Compatible Signal Cable for Legacy Systems